
Email Xpert
Mozilla Thunderbird on MacOS

Please bear with us while we are getting screenshots together.
If you don't have Thunderbird installed, you can download it from their website and follow instructions to install. Mac Silicon and Intel chip architecture use the same install package.
Step 1: Open Mozilla Thunderbird
- Click the Thunderbird icon in your Dock or open it from the Applications folder.
- If this is your first time launching Thunderbird, the account setup window may appear automatically.
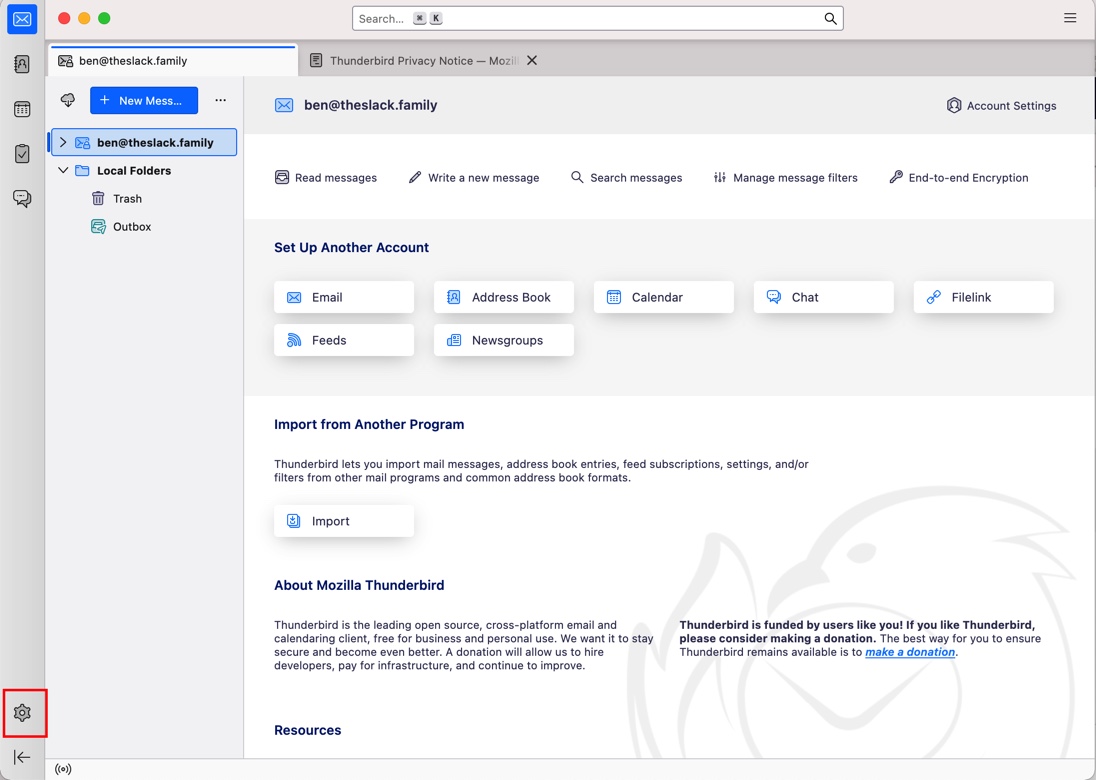
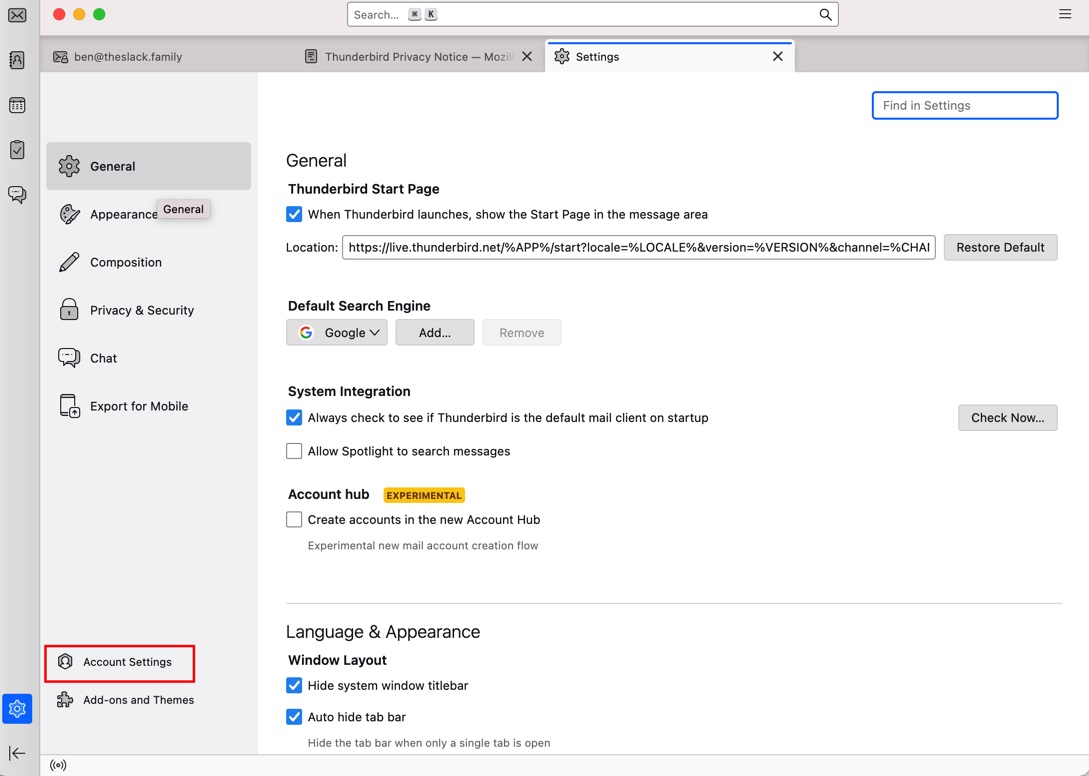
- If Thunderbird is already running, Select Thunderbird from the top-right corner of your screen and select Account Settings. Then New Account at the top-right of the screen. This will open the same account setup window in the first screenshot below.

OR
Step 2: Enter Your Account Information
- Enter your full name (this will be shown on outgoing messages).
- Type your full email address (e.g., ymy.new@email.address).
- Enter your email password.
- Click Continue.
Step 4: Configure IMAP Settings
- Thunderbird will try to detect your server settings automatically.
- If needed, select IMAP (remote folders) manually.
- You can also click Manual config to enter the settings yourself.
Step 5: Enter Server Details Manually (if needed)
- Incoming Server (IMAP): mail.example.com
- Port: 993
- SSL: SSL/TLS
- Authentication: Normal password
- Outgoing Server (SMTP): smtp.example.com
- Port: 587
- SSL: STARTTLS
- Authentication: Normal password
- Ensure your username for both incoming and outgoing is your full email address.
Step 6: Finish Setup
- Click Re-test to verify the configuration.
- Click Done once Thunderbird confirms a successful connection.
- Your account will be added, and Thunderbird will start syncing your mail.
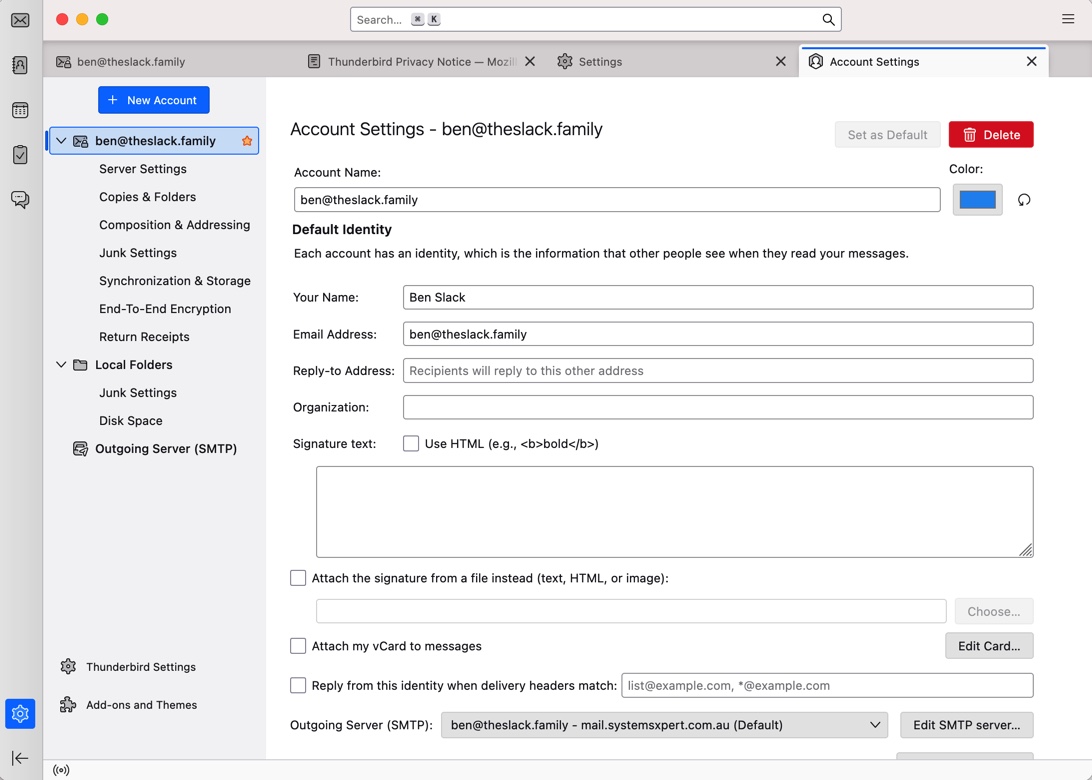
Step 7: Verify Account Settings
- Go back to Account Settings from the menu if you need to update any configuration.
- Send a test email to confirm sending and receiving works correctly.